How to capture 360 pictures and see them in SynergyXR
This is a guide on how to both take and use 360 pictures in SynergyXR. If you have any questions don't hesitate to reach out!
Hardware and apps needed
You need a phone with a camera to take the picture or you need a 360 camera. However, we do recommend using a 360 camera for most reliable and optimized results. We’ve used anything from an iPhone 10 to a Galaxy note 20 ultra. We have good experiences with google street view. More on that in the camera-part of this guide.
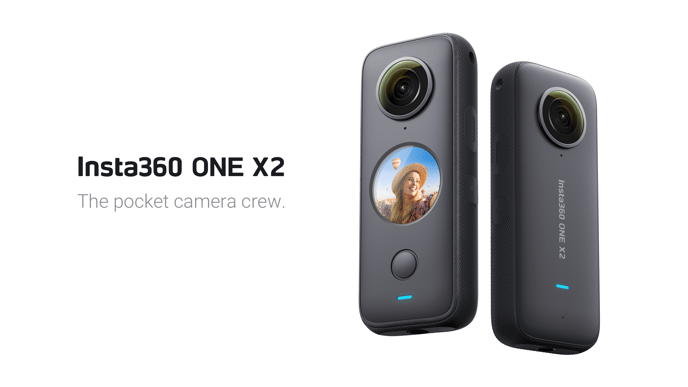
When it comes to the camera, we are using the Insta 360, but likely all 360 cameras will work with this method.
You need Blender. It is a free, strong 3D editing software.
No worries, we’ve got you covered and have designed a template solution for you to drag your 360 image onto. Simply click the picture next to this text to download the template.
How to take photo with 360 camera
When taking a 360 picture all you have to do is make sure all objects in your picture are standing still. Luckily you can control the camera we have chosen here remotely through their application. Therefore, we advise you to place it on a tripod and simply walk out the room to take the picture using the app.
The app works on both Android and Apple devices.
How to transfer to PC/MAC
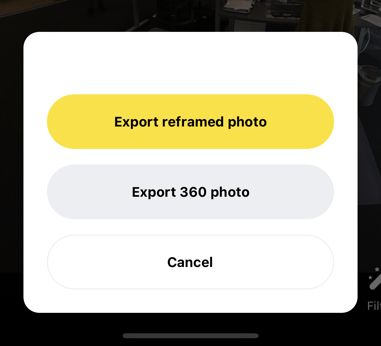
automatically to .jpg. It should look like this:
We are exporting to Microsoft Onedrive, but choose any desired cloud location you might want.
How to edit in Blender
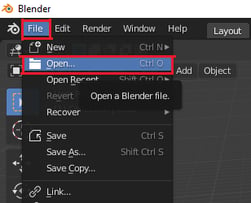
Locate your saved template file. You will need to know where on your device you have saved it. Simply double click your saved template file. It should open the template in Blender and it looks like this:
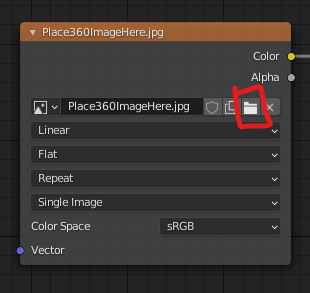
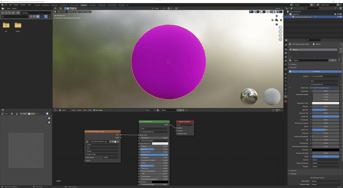
Now in the bottom of Blenders interface locate the folder selection and click it. Now locate your 360 image in .jpg filetype and load it. It looks like this:
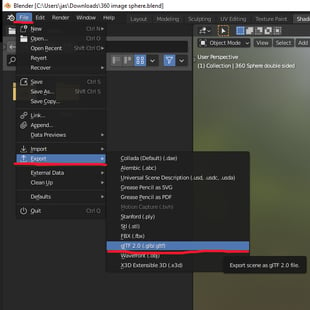
At this point you are ready to export. In Blender go to "File" then "Export as" and choose ".glb" as file format. It should look like this:
Quick little tip here. When closing Blender you can save your project. We recommend choosing "Save as" and keeping the template clean and ready for the next import.

